

how to change colors in gimp
Introduction to GIMP Replace Color
Replace color is a method or process of GIMP software through which you can change the color of your desired area of any image for having very nice color manipulation with your image. We can change the color of any area with our desired color by selecting that area by using different types of selection tools of the tool panel. We can do this color replacement process in many ways, but here in this article, we will discuss two of them. In these two methods, we will use two or more selection tools of the tool panel of GIMP. So let us have a look at these methods.
How to Replace Color in GIMP?
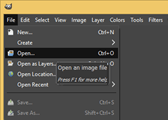
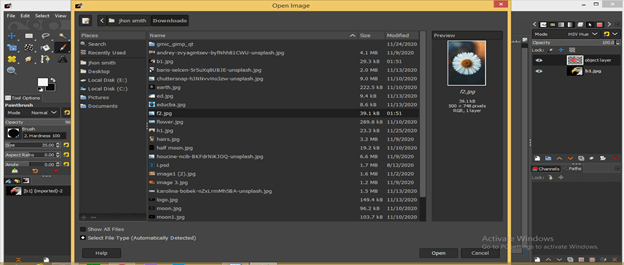
There are many ways of replacing the color of your desired object or desired area of an image, and we will analyze some of them. For learning about this topic, let us have an image in GIMP. For having an image go to the File menu of the menu bar, which is at the top of the user screen and click on it, click on the Open option of scroll down list or go with a short cut key which is Ctrl + O.
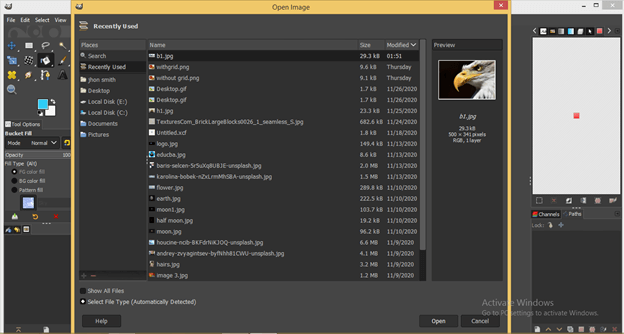
Here in this dialog box, choose your desired image from its saved location by clicking on it. I will choose this bird image for our learning and hit on Open button of this dialog box.
Now go to the tool panel of GIMP and click on the Fuzzy Select tool for making it active, or you can go with a short key, the letter U of the keyboard.
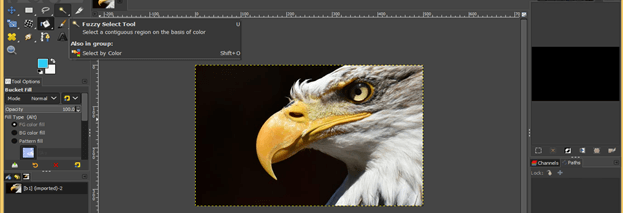
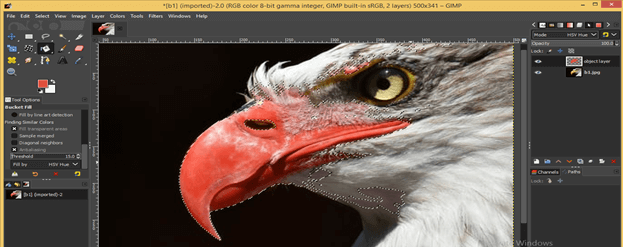
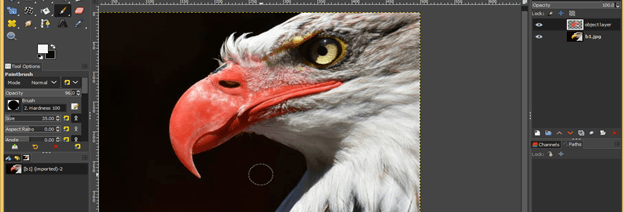
I want to change the color of the Beak of this bird. So let us do this by making a selection around it. Make click on any area of the beak of this bird with the fuzzy select tool, and you will notice a selected area will highlight with magenta color if you hold the click.
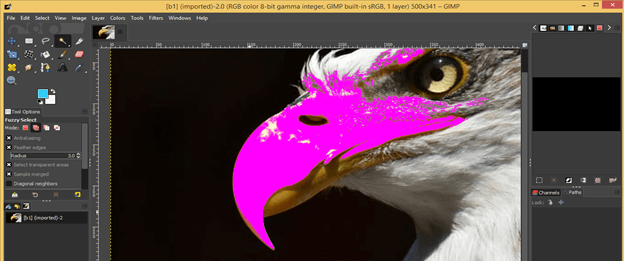
Enable the Draw Mask option of the parameters section of this fuzzy select tool if there is no magenta color highlighted for selection.

You can make multiple clicks for having a proper selection of your desired area of any image.
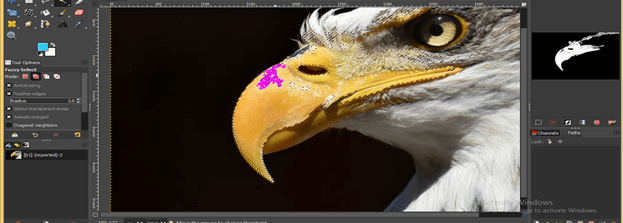
If there is some undesired area selected during your selection, then no need to worry about that; we have a solution for that also.
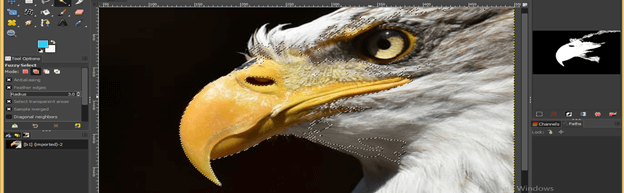
Once you had done the selection as per your choice around your desired area of an image, hit the Enter button on the keyboard to have the selection active. Now go to the Layers panel, which is on the right side of the working screen and click on the Create a new layer button for having a new layer. You will find this option at the bottom of the Layers panel.
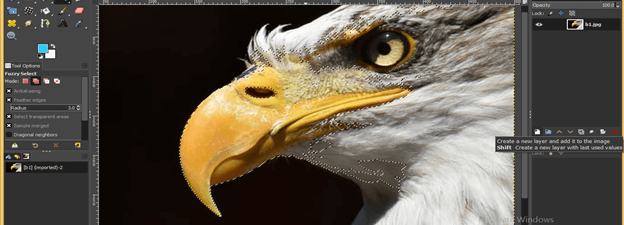
Create a transparent layer by choosing the transparency option in the 'Fill with' option of this 'New layer' dialog box.

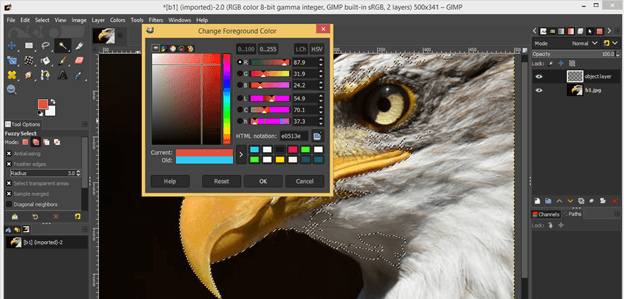
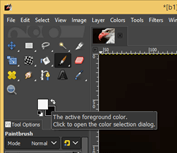
Now choose the color for the foreground color box from the 'Change Foreground color' dialog box, which you want to use as the color of the beak of this bird. I will choose this orange color for this purpose and hit on the Ok button.
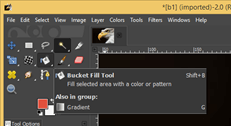
Now take the Bucket tool from the tool panel or press Shift + B as the short cut key of this tool.
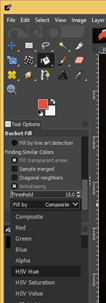
Choose the 'HSV Hue' option from the list of Fill by the option of parameters' section of bucket tool.
And make a click on any area of the beak for changing its color with the bucket tool.
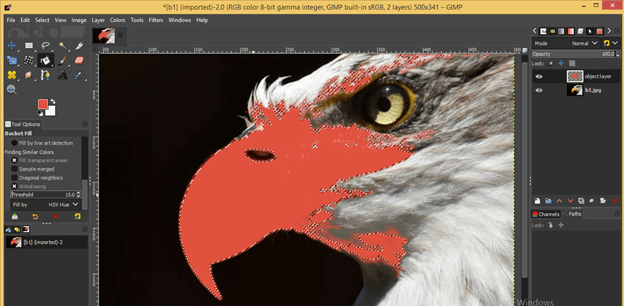
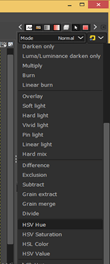
Now change the mode of the selected color. For changing the mode, go to the Layers panel and click on the down arrow key of the Mode option of it then choose the HSV Hue option from the scroll-down list.
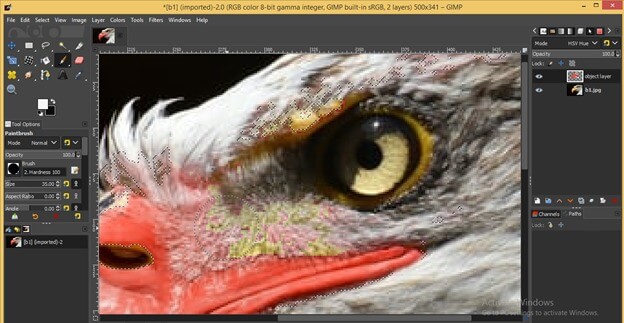
And magic happens. The color of the beak changes into your desired color.
But there are some undesired areas that also have the effect of change color, so for erasing color from the undesired area, takes the brush tool from the tool panel or press P for the keyboard as short cut key.

And set white as the foreground color in the color box of the tool panel.
Now make a click and drag the brush tip on the area from where you want to remove color.
Now go to the Select menu of the menu bar and click on the 'None' option for disabling this selection.

And the nice color manipulation of this image is ready.
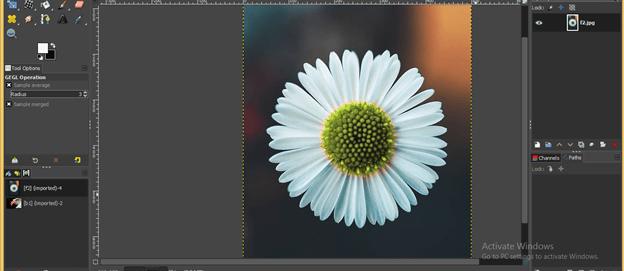
Now let us learn another way for doing this. For this, let us have another image.
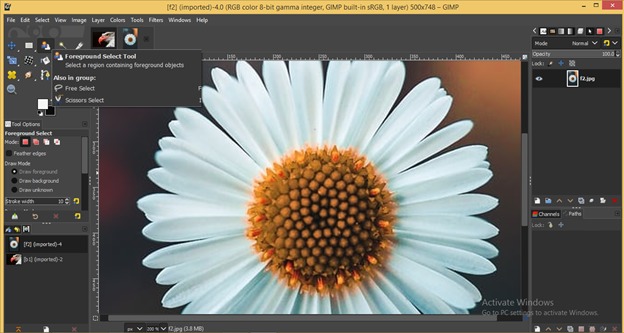
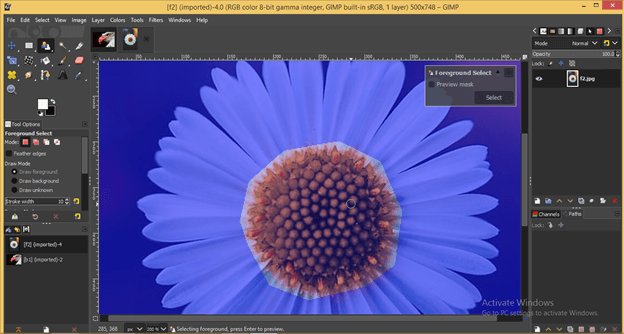
We have this flower image for learning about the next method.

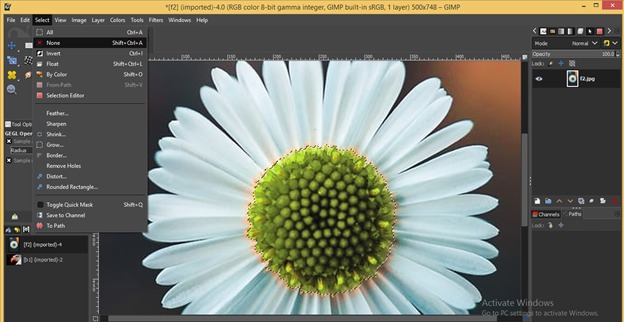
I want to change color of center of this flower. So choose Foreground Select Tool from the tool panel.
And make a selection around the edge of center area of this flower.
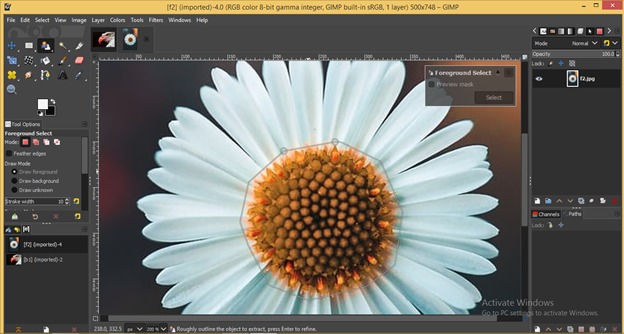
Once the selection is ready, then hit Enter button on the keyboard, and it will highlight your selected area like this. The blue area is that area that will be beyond your selection.
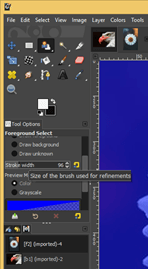
Now increase the Stroke width of the tip of this tool according to the area you will use.
And paint selected area like this. Paint a little bit inside the selected area. There is no need to paint accurately on edge. It must be inside the edges.

And fill it completely like this.

Once you release the mouse button, it will change your painted color like this as a mark of selection. Now click on the Select button of the 'Foreground Select' dialog box.
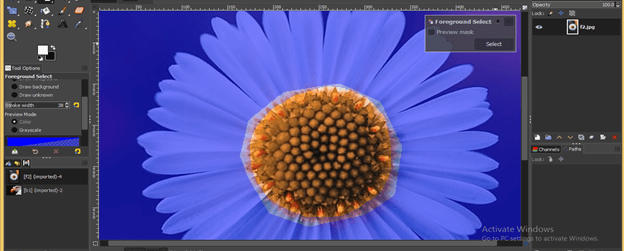
And it will make a selection around center area like this.
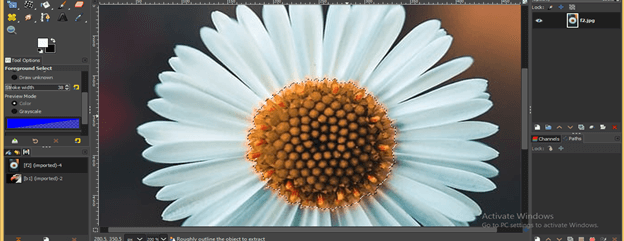
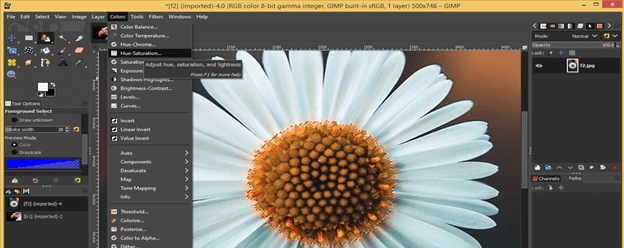
Now go to the Colors menu of the menu bar and choose the Hue-Saturation option from the scroll-down list.
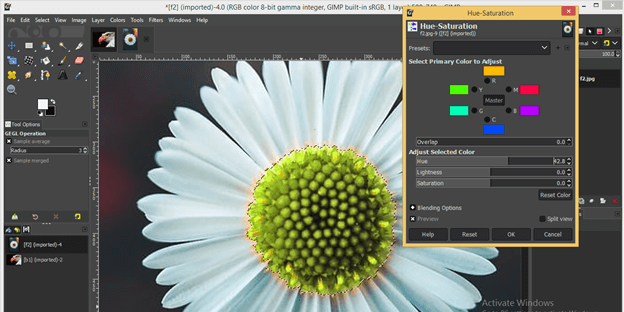
Change the value of Hue in this dialog box to change your selected area's colour like this.
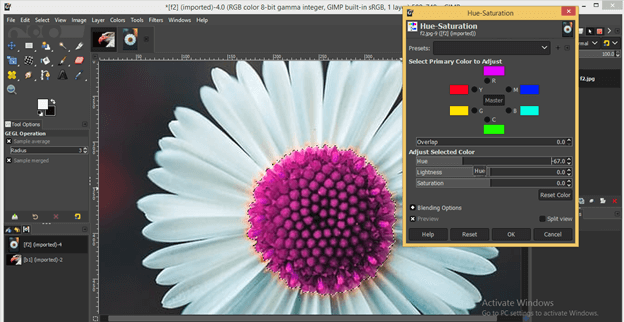
You can change it into any color.
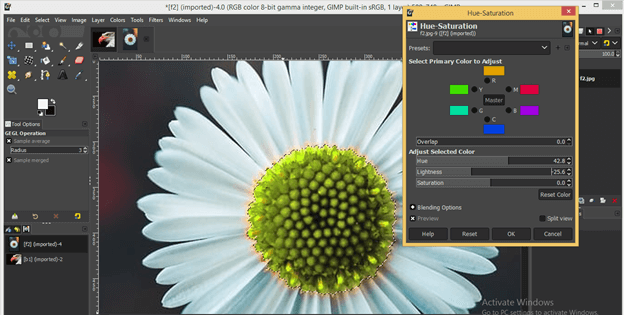
You can also increase or decrease the brightness of it. When you are satisfied with your color, then hit on the Ok button.
Now again, go to the Select menu and click on the 'None' option of scroll down list for disabling selection.
And you replace a colored area of this image is ready.
Conclusion
Here in this article of EDUCBA, we discussed some of the simple and effective ways of replacing color of any area or object of an image. Now you can easily manipulate color of your desired area and have a good command of this feature.
Recommended Articles
This is a guide to GIMP replace color. Here we discuss How to Replace Color in GIMP and some of the simple and effective ways of replacing color of any area. Some of the simple and effective ways of replacing color of any area. You may also have a look at the following articles to learn more –
- GIMP Alternatives
- Sun in Illustrator
- Photoshop Sun Effect
- Photoshop Cheat Sheet
how to change colors in gimp
Source: https://www.educba.com/gimp-replace-color/
Posted by: smithmandis.blogspot.com
0 Response to "how to change colors in gimp"
Post a Comment